Blender Modifiers Cheat Sheet: Printable Reference Chart
Modifiers are Blender's superpower: they reshape, duplicate, and refine your mesh without permanently changing anything — but the list of forty-plus options overwhelms every beginner. Modelers lose hours adding modifiers in the wrong order, or worse, permanently applying them before the model is ready, losing the ability to tweak. The truth is that about twelve modifiers do ninety percent of real work: Mirror for symmetry, Subdivision Surface for smoothness, Array for repetition, Boolean for cutting holes, and a handful of deformation and generation tools. This printable chart lists those twelve essentials with their modifier category, exactly what each one does, and when to reach for it. Consult the live reference table below while you model, or print the sheet below and keep it next to your keyboard — and remember the classic stack order: Mirror first, then Subdivision, then Bevel.
Quick-Reference Table
The full data from this cheat sheet, right on the page.
| Modifier | Category | What It Does | Best Used For |
|---|---|---|---|
| Subdivision Surface | Generate | Subdivides the mesh to create a smoother, denser surface | Organic shapes, characters, and hard-surface models needing smooth curves |
| Mirror | Generate | Mirrors geometry across an axis for perfect symmetry | Characters, vehicles, and any symmetric object — model one half only |
| Array | Generate | Creates a line of copies along an axis or curve | Fences, stairs, repeated parts like bolts or fence posts |
| Boolean | Generate | Combines objects with union, difference, or intersection | Cutting holes and windows, merging parts into one mesh |
| Bevel | Generate | Chamfers edges to catch light and add realism | Hard-surface modeling — edges look fake without a small bevel |
| Solidify | Generate | Gives flat surfaces thickness and depth | Cloth panels, book pages, phone screens, any flat sheet |
| Displace | Deform | Moves vertices along normals using a texture | Terrain, wrinkles, and bumpy surfaces without manual sculpting |
| Curve | Deform | Deforms the mesh to follow a curve object | Roads, pipes, text along a path, roller-coaster tracks |
| Lattice | Deform | Deforms the mesh inside an editable lattice cage | Cartoon squash-and-stretch, reshaping whole characters |
| Shrinkwrap | Deform | Projects the mesh onto another surface | Cloth fitted to a body, decals and labels on curved surfaces |
| Decimate | Generate | Reduces polygon count while keeping the shape | Game assets, low-poly conversion, cleaning heavy scans |
| Remesh | Generate | Rebuilds topology as clean voxels or blocks | Preparing sculpts for clean topology, voxel-art style models |
How to Use This Chart
Pin this chart where you work: it packs 12 entries and 4 columns (Modifier, Category, What It Does, Best Used For) into one printable page, built for quick lookups.
Scan down the Modifier column to your item, then read across for Category, What It Does, Best Used For.
Example: for Subdivision Surface, the chart gives Category of Generate.
- Compare values down a single column to spot the pattern before you commit to a choice.
- When two rows look close, the last column usually breaks the tie.
- Print it once and keep it where you work — that's the whole point of a cheat sheet.
💡 Quick Tips
Stack Order Matters: Place Mirror at the top of the stack, Subdivision in the middle, Bevel last — drag modifiers to reorder anytime.
Stay Non-Destructive: Don't click Apply until the model is finished — unapplied modifiers can be tweaked or removed freely.
Keep the Base Clean: Modifiers work best on simple base geometry — add detail with modifiers, not manual edge loops.
Frequently Asked Questions
What is the best modifier stack order in Blender?
A safe default is Mirror first, then Subdivision Surface, then Bevel — geometry gets mirrored while simple, smoothed next, and beveled last. But order is creative: a Bevel before Subdivision gives softer edges. Experiment by dragging modifiers up and down the stack.
Should I apply my modifiers before exporting?
Usually yes — exporters need real geometry, so Apply each modifier in order before export. But keep a backup .blend with the stack intact first, since applying is permanent and removes your ability to tweak settings later.
Why does my Subdivision Surface modifier look lumpy?
The base mesh is too sparse or has uneven topology — subdivision amplifies existing irregularities. Add supporting edge loops with Ctrl+R around sharp areas first, and keep quad faces for the smoothest result.
Printable Sheet Preview
High-Contrast Layout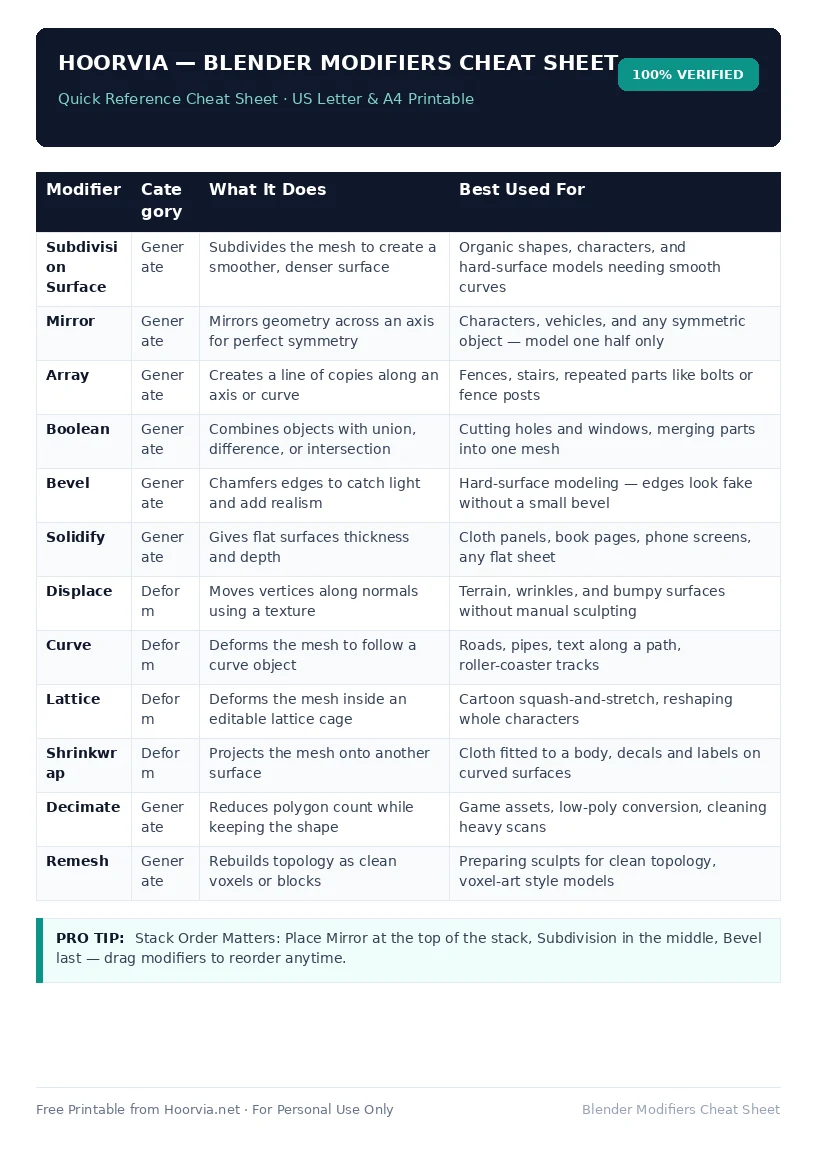
Download Your Free Printable Sheet
Download the printable PDF below. It is the same sheet shown in the preview above, ready to print on US Letter or A4 — open it and choose Print, with Scale set to Fit to Page.
💡 Pro Printing Tip: In your printer settings, set Scale to “Fit to Printable Area” and enable “Background Graphics” for color headers.