Mug Press Settings Chart: Printable Sublimation Mug Guide
Decorating mugs with a mug press looks foolproof — until the design comes out ghosted, faded, or mirrored the wrong way. The tricky part is that presses like the Cricut Mug Press have no temperature or time dials: everything is automatic, so success depends entirely on what you do before you close the lever. Mirror the design, tape it tight, wait for the beep — each small step decides whether the ink bonds into the coating or peels off in the dishwasher. This printable chart walks through the complete mug press workflow in ten steps, from preheating the press to peeling the cooled transfer, with timing guidance and the mistake to avoid at each stage. Consult the live reference table below before you press your first mug, or print the sheet below and keep it by your press — a two-minute checklist beats a ruined blank every time.
Quick-Reference Table
The full data from this cheat sheet, right on the page.
| Step | What To Do | Timing | Avoid This Mistake |
|---|---|---|---|
| Preheat the Press | Power on, wait for the green light + ready beep | 5–8 min warm-up | Pressing in a cold or still-warming press fades the transfer |
| Mirror the Design | Toggle Mirror ON in Cricut Design Space | Before cutting | Unmirrored text transfers backwards |
| Cut the Transfer | Infusible Ink sheet ink-side up on a StandardGrip mat | Fine-point blade, default pressure | Touching the ink surface leaves permanent marks |
| Weed the Sheet | Bend back and forth to crack along the cut lines | 1–2 min | Rushing tears fine design lines |
| Lint-Roll the Mug | Roll the blank clean before applying the design | About 30 sec | Dust and fibers bake permanently into the design |
| Apply & Tape | Ink side down on the mug, heat tape on all edges | About 1 min | Shifting while the lever closes causes ghosting |
| Load the Mug | Handle out, bottom edge flush with your work surface | — | The heat plate must cover the entire design |
| Press (Automatic) | Push the lever until it clicks, wait for the beep | About 6 min per mug | No temp/time settings — never open the press early |
| Cool Down | Lift out by the handle, rest on a heat-safe mat | At least 10 min | Peeling while hot smears the ink |
| Peel & Enjoy | Peel the transfer sheet; finished mugs are dishwasher safe | After cooling | Grabbing the mug body can burn you |
How to Use This Chart
Pin this chart where you work: it packs 10 entries and 4 columns (Step, What To Do, Timing, Avoid This Mistake) into one printable page, built for quick lookups.
Scan down the Step column to your item, then read across for What To Do, Timing, Avoid This Mistake.
Example: for Preheat the Press, the chart gives What To Do of Power on, wait for the green light + ready beep.
- Compare values down a single column to spot the pattern before you commit to a choice.
- When two rows look close, the last column usually breaks the tie.
- Print it once and keep it where you work — that's the whole point of a cheat sheet.
💡 Quick Tips
Preheat Fully First: Wait for the green light and beep before loading the mug — a cooling press is the top cause of faded transfers.
Tape Every Edge: Heat tape on all sides keeps the transfer from shifting when the lever closes; shifting causes unfixable ghosting.
Touch the Handle Only: Mugs exit extremely hot — lift by the handle and let the blank cool ten minutes before peeling.
Frequently Asked Questions
What temperature and time does a Cricut Mug Press use?
The Cricut Mug Press has no manual temperature or time settings — they adjust automatically, and the press beeps when the mug is done. In practice a press cycle runs about six minutes; a manual mug-press attachment typically uses around 400°F (204°C) for 60–180 seconds at medium pressure.
Why did my mug design come out faded or blurry?
Fading usually means the press was not fully preheated, the mug blank was not sublimation-coated, or the transfer shifted. Blurry double images come from the design moving when the lever closed. Always lint-roll the blank, tape all edges, wait for the ready beep, and do not open the press early.
Can I use sublimation paper instead of Infusible Ink?
Yes — the Cricut Mug Press works with sublimation transfers on sublimation-ready mugs, not just Infusible Ink sheets. The workflow is the same: mirror the design, tape it tightly to the blank, press until the beep. Results vary by paper and blank brand, so test one mug before a batch.
Printable Sheet Preview
High-Contrast Layout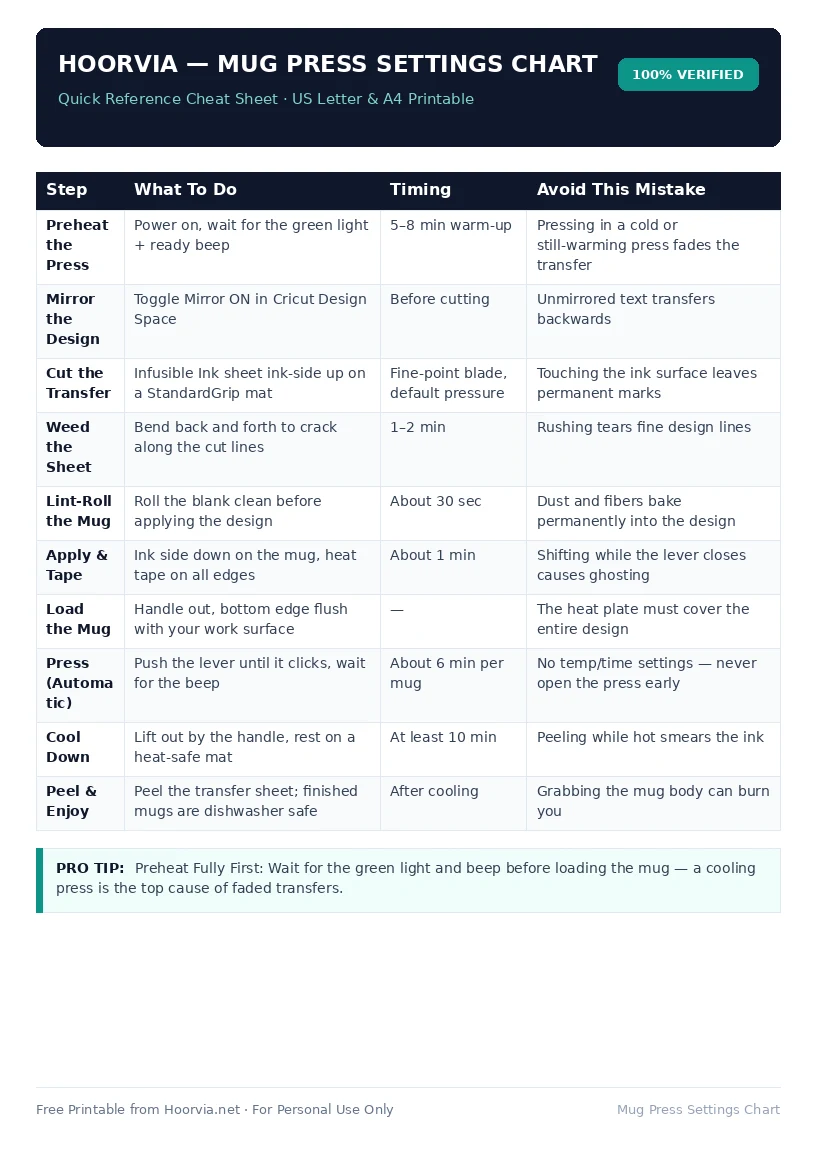
Download Your Free Printable Sheet
Download the printable PDF below. It is the same sheet shown in the preview above, ready to print on US Letter or A4 — open it and choose Print, with Scale set to Fit to Page.
💡 Pro Printing Tip: In your printer settings, set Scale to “Fit to Printable Area” and enable “Background Graphics” for color headers.